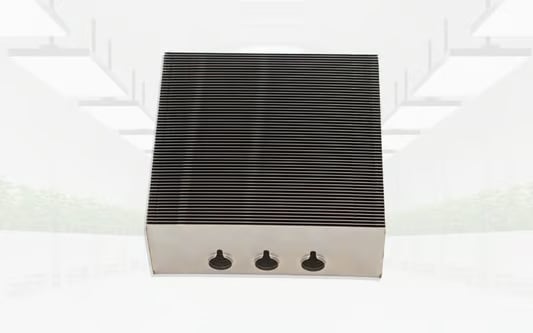
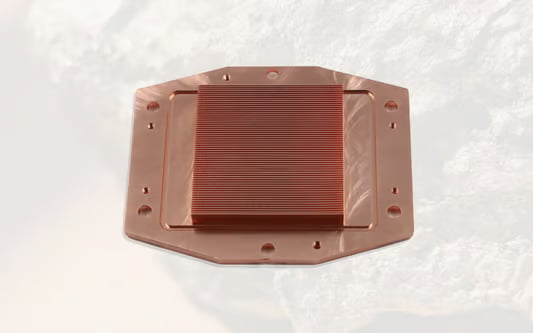
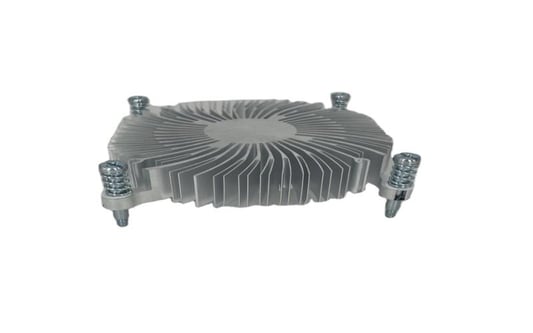
The Importance of Cleaning Your Heat SinkHeat sinks are essential components in electronic devices that help dissipate heat and prevent overheating. Over time, dust and debris can accumulate on the heat sink, reducing its effectiveness and causing the system to overheat. Regularly cleaning your heat sink is crucial to maintaining optimum performance and prolonging the lifespan of your electronic devices. In this article, we will guide you through ten easy steps to clean your heat sink effectively.Step 1: Gather the Necessary ToolsBefore you start cleaning your heat sink, make sure you have all the necessary tools at hand. You will need a can of compressed air, a soft brush or toothbrush, isopropyl alcohol, lint-free cloth or paper towels, and a small container for the alcohol.Step 2: Power Off and Unplug Your DeviceBefore you begin cleaning, it is crucial to power off and unplug your electronic device. This step will ensure your safety and prevent any accidental damage to your device.Step 3: Remove the Heat SinkDepending on the device, you may need to remove the heat sink to clean it thoroughly. Follow the manufacturer's instructions or consult a professional if you are unsure how to remove the heat sink.Step 4: Use Compressed Air to Remove Loose DebrisHold the can of compressed air upright and use short bursts to blow away any loose debris from the heat sink. Make sure to direct the airflow away from sensitive components to avoid causing damage.Step 5: Brush Away Stubborn DustUse a soft brush or toothbrush to gently brush away any stubborn dust or debris from the heat sink fins. Be careful not to apply excessive pressure or bend the fins, as this can impair the heat sink's effectiveness.Step 6: Clean with Isopropyl AlcoholDampen a lint-free cloth or paper towel with isopropyl alcohol. Gently wipe the surface of the heat sink to remove any remaining dirt or thermal paste residue. If necessary, dip the cloth or paper towel in the alcohol again and continue cleaning until the heat sink is spotless.Step 7: Pay Attention to the BaseWhile cleaning the heat sink fins is essential, don't forget to pay attention to the base as well. Wipe the base of the heat sink with isopropyl alcohol, ensuring it is free from any thermal paste residue or dirt.Step 8: Allow Sufficient Drying TimeAfter cleaning, it is essential to allow the heat sink to dry completely before reinstalling it. This will prevent any potential damage or short circuits that can occur when moisture is present.Step 9: Reapply Thermal PasteIf you have removed the heat sink, it is crucial to reapply a thin layer of thermal paste before reinstalling it. Thermal paste helps improve the contact between the heat sink and the component, ensuring efficient heat transfer.Step 10: Reinstall the Heat SinkCarefully reinstall the heat sink, ensuring it is properly aligned with the mounting brackets or screws. Follow the manufacturer's instructions or consult a professional if needed. Once the heat sink is securely in place, you can reconnect and power on your device.ConclusionRegularly cleaning your heat sink is vital for maintaining the efficiency and longevity of your electronic devices. By following these ten easy steps, you can ensure that your heat sink remains free from dust and debris, allowing for optimal cooling performance. Remember to exercise caution, follow manufacturer guidelines, and consult a professional if needed. With a clean heat sink, you can enjoy a cooler and more reliable electronic device.Quote Inquiry


