
Understanding the Importance of Cleaning Your Computer Heat Sink
Over time, your computer's heat sink can become clogged with dust and debris, leading to decreased performance and potential overheating issues. Regularly cleaning your computer heat sink is essential for maintaining optimal performance and prolonging the lifespan of your device. In this article, we will guide you through the step-by-step process of cleaning your computer heat sink effectively.
Gathering the Necessary Tools
Before diving into the cleaning process, it is important to gather the necessary tools. You will need a can of compressed air, a soft brush or toothbrush, thermal paste, and a screwdriver if required to remove the heat sink. Having these tools readily available will make the cleaning process smoother and more efficient.
Preparing Your Computer for Cleaning
Prior to cleaning the heat sink, it is crucial to ensure your computer is turned off and unplugged. This will prevent any accidental damage to your device and ensure your safety throughout the cleaning process. Additionally, if your heat sink is located inside your computer, you may need to open the computer case using a screwdriver.
Removing the Heat Sink
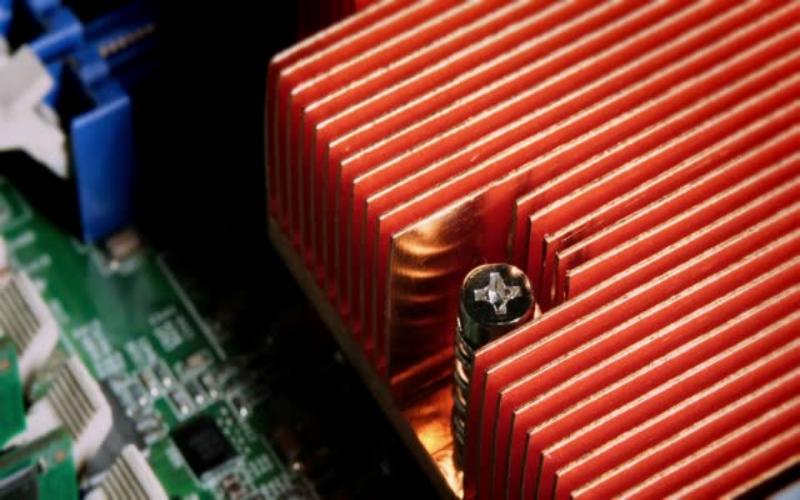
If your heat sink is not easily accessible, you will need to remove it from your computer. Start by carefully disconnecting any wires or cables attached to the heat sink. Next, use a screwdriver to remove any screws holding the heat sink in place. Gently lift the heat sink away from the CPU, taking care not to damage any components in the process.
Cleaning the Heat Sink
Once the heat sink is removed, it's time to clean it thoroughly. Begin by using a can of compressed air to blow away any loose dust and debris. Hold the can in an upright position and use short bursts of air to avoid damaging any delicate components. Next, use a soft brush or toothbrush to gently scrub away any stubborn residue. Be sure to pay attention to the fins and crevices of the heat sink, as these areas often accumulate the most dust.
Applying Thermal Paste
After cleaning the heat sink, it is important to apply a small amount of thermal paste to ensure proper heat transfer between the heat sink and the CPU. Thermal paste helps to fill in any microscopic gaps between the two surfaces, improving heat dissipation. Apply a small pea-sized amount of thermal paste to the center of the CPU, then carefully reattach the heat sink, ensuring it is properly aligned with the CPU.
Reassembling Your Computer
If you had to remove any components or open your computer case, now is the time to reassemble everything. Carefully reconnect any wires or cables that were detached earlier and secure the heat sink in place using the screws. Double-check that everything is properly connected and aligned before closing the computer case.
Testing Your Computer
Once your computer is reassembled, it's time to test its performance. Turn on your computer and monitor its temperature to ensure it is running at an optimal level. If you notice any abnormal increases in temperature or performance issues, it may indicate that further cleaning or maintenance is required.
Establishing a Cleaning Routine
Cleaning your computer heat sink should be a regular part of your computer maintenance routine. Depending on your environment, it is recommended to clean the heat sink every 3-6 months to prevent excessive dust buildup. This will help maintain optimal performance and prevent potential overheating issues in the long run.
Conclusion
Regularly cleaning your computer heat sink is crucial for maintaining optimal performance and preventing overheating issues. By following the step-by-step guide provided in this article, you can effectively clean your heat sink and ensure the longevity of your computer. Remember to gather the necessary tools, prepare your computer for cleaning, remove and clean the heat sink, apply thermal paste, reassemble your computer, and establish a regular cleaning routine. By doing so, you will keep your computer running smoothly for years to come.