
Introduction
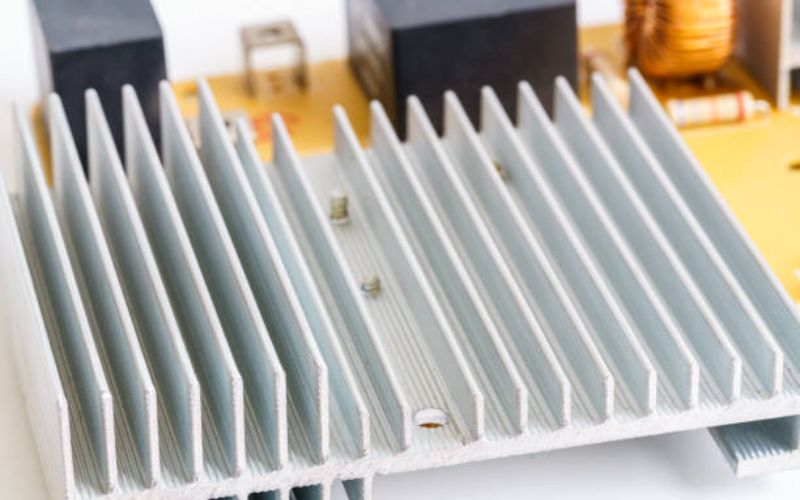
A heat sink is an essential component in electronic devices to dissipate heat and keep them running efficiently. Properly mounting a heat sink is critical to ensure it functions optimally and prolongs the lifespan of the device. In this article, we will share some tips and tricks on how to stick a heat sink easily and securely.
Choose the Right Adhesive
The adhesive is a crucial factor when sticking a heat sink to a surface. It needs to be capable of withstanding high temperatures, have good thermal conductivity, and provide a strong bond that won't break under pressure. The most commonly used adhesives are thermal tape, thermal epoxy, and thermal grease.
Prepare the Surface
The surface where the heat sink will be mounted needs to be clean, smooth, and free of any debris or contaminants. Using isopropyl alcohol to clean the surface is recommended as it evaporates quickly and won't leave any residue behind.
Apply the Adhesive
Apply the adhesive carefully and evenly to the center of the surface where the heat sink will be mounted. Avoid applying too much adhesive, as it can lead to air pockets and reduce contact between the heat sink and the surface.
Align the Heat Sink
Once the adhesive is applied, carefully align the heat sink with the surface and press it firmly. Ensure that the heat sink is centered and level to maximize contact and heat dissipation.
Allow Time for the Adhesive to Set
After the heat sink is mounted, allow time for the adhesive to set and cure properly. Most adhesives will take a few hours to fully cure, but it's best to check the manufacturer's instructions for accurate curing times.
Test the Bond
Once the adhesive has cured, it's time to test the bond to ensure the heat sink is mounted securely. Gently try to move the heat sink and check for any signs of looseness or movement. A properly mounted heat sink should not move or wiggle when pressure is applied.
Reapply Adhesive if Needed
If the bond is not secure, reapplying the adhesive is necessary. Ensure that the surface is cleaned thoroughly, and the adhesive is applied evenly to the center of the surface.
Consider Using Mounting Hardware
In some cases, using mounting hardware such as screws or clips may provide a more secure mounting option. This hardware will provide additional pressure and ensure proper contact between the heat sink and surface. Check the manufacturer's instructions for recommendations on mounting hardware.
Conclusion
Sticking a heat sink may seem simple, but it's important to follow these tips and tricks to ensure a secure and long-lasting bond. Remember to choose the right adhesive, prepare the surface, apply the adhesive evenly, align the heat sink, allow time for curing, and test the bond. If needed, reapply the adhesive or consider using mounting hardware for extra security.