
How to Clean a Heatsink Without Removing It: A Comprehensive Guide
Keeping your computer's heatsink clean is essential for optimal performance and preventing overheating. However, removing a heatsink can be a tricky and time-consuming process. In this article, we will guide you through the steps on how to clean a heatsink without removing it, ensuring that your computer remains cool and efficient.
1. Understanding the Importance of a Clean Heatsink
A heatsink plays a crucial role in dissipating heat generated by your computer's processor. Over time, dust and debris accumulate on the heatsink's fins, hindering its ability to effectively cool the processor. This can lead to increased temperatures, reduced performance, and even system instability. Regularly cleaning your heatsink is vital to maintain optimal cooling and prevent potential damage to your computer.
2. Gather the Necessary Tools
Before you begin cleaning the heatsink, ensure you have the right tools on hand. You will need a can of compressed air, a soft brush or toothbrush, isopropyl alcohol, lint-free cloths, and a small screwdriver (if necessary). These tools will help you remove dust and dirt without causing any damage to the heatsink or other components.
3. Power Down and Disconnect
Before you start cleaning, it's crucial to power down your computer and unplug it from the wall. This ensures your safety and prevents any potential damage to the internal components. Wait for a few minutes to allow the system to cool down before proceeding.
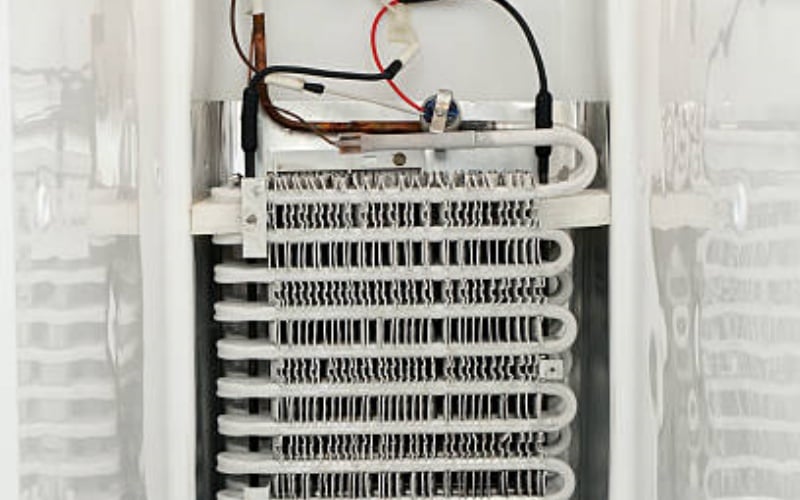
4. Locating the Heatsink
The heatsink is typically located on top of the processor, underneath the fan. It is a metal structure with fins that dissipate heat. Consult your computer's manual or search online for specific instructions on locating the heatsink for your particular model. Once you have found it, you can move on to the next step.
5. Blowing Out Loose Dust with Compressed Air
Using a can of compressed air, carefully blow out any loose dust and debris from the heatsink. Hold the can in an upright position and use short bursts of air to avoid moisture buildup. Pay extra attention to the areas between the fins, as this is where dust tends to accumulate the most. The compressed air will dislodge and remove most of the loose particles.
6. Brushing Away Stubborn Dust
After blowing out loose dust, use a soft brush or toothbrush to gently brush away any remaining stubborn particles. Be gentle to avoid bending or damaging the fins. Brush in a downward motion, following the direction of the fins, to effectively remove dust without pushing it further into the heatsink.
7. Removing Grease or Thermal Paste Residue
If there is hardened grease or thermal paste residue on the heatsink, dampen a lint-free cloth with isopropyl alcohol and gently wipe away the residue. Avoid using excessive force or abrasive materials that could scratch the heatsink surface. Make sure to remove all traces of residue to ensure optimal heat transfer between the processor and heatsink.
8. Cleaning the Fan
While cleaning the heatsink, it's also essential to clean the fan that sits on top of it. The fan's blades can accumulate dust, which affects its performance and airflow. Use a soft brush or a can of compressed air to remove any dust from the fan blades. Ensure that the fan spins freely and smoothly after cleaning.
9. Reassembling and Testing
Once you have cleaned the heatsink and fan, carefully reassemble them by following the reverse steps of disassembly. Ensure that all connections are secure and that the heatsink is properly seated on the processor. Plug in your computer, power it on, and monitor the temperatures to ensure the cleaning process has improved cooling efficiency.
10. Regular Maintenance
Finally, it's crucial to establish a regular cleaning schedule to maintain optimal heatsink performance. Depending on your computer's usage and environment, cleaning the heatsink every 3-6 months is generally recommended. This will prevent excessive dust buildup and ensure that your computer remains cool and efficient for years to come.